
| Choice | Best for | Practical note |
|---|---|---|
| Small cottage | First-time builders | Fewer joints and less roof weight |
| Larger house | Group decorating | Add internal supports and a broad base |
| Pre-cut panels | A quick project | Check that matching edges are straight |
| Homemade templates | Custom proportions | Keep a spare copy for trimming |
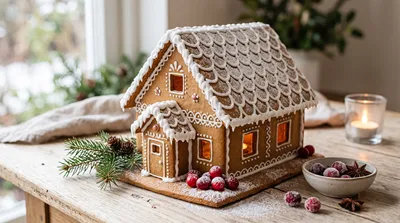
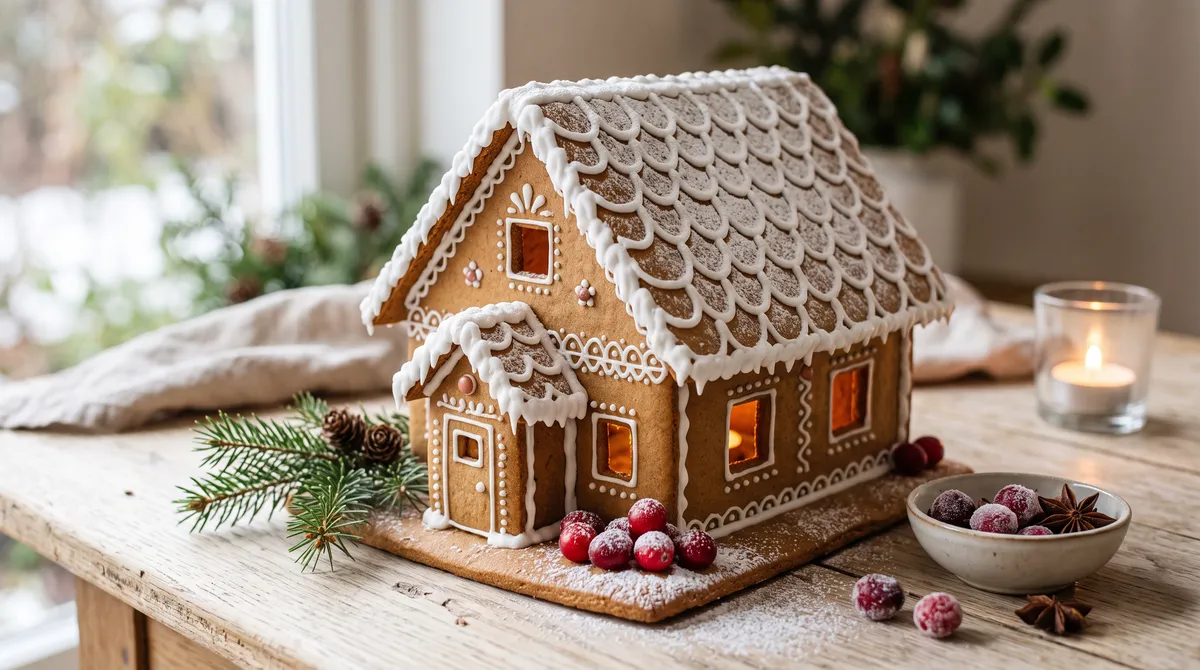
A pepparkakshus can be a charming centerpiece, but the first attempt often turns into a roof-slide rescue mission. The trick is to treat it less like a soft cookie project and more like a tiny building: use firm dough, let the panels cool completely, and give the icing time to set. This guide walks you through planning, baking, assembly, and decoration, with options for a classic cottage or a cleaner Scandinavian look. You do not need specialist tools or a perfect piping hand. A little patience, a stable base, and a sensible order of operations make the difference between a house that stands proudly and one that leans before the sweets are even on.
Plan your pepparkakshus before you bake
Start with a footprint that fits your table and your patience. A small house with two side walls, two gables, and two roof panels is easier to assemble than a sprawling mansion. For a first build, aim for walls around 5–6 inches (13–15 cm) tall and roof panels about 6 inches (15 cm) long. Keep the design simple: straight edges meet more reliably than elaborate turrets, and a modest roof overhang is easier to support.
You can draw the pieces on plain paper or cut a template from clean card. Make one front wall with a door and windows, one matching back wall, two rectangles for the sides, and two roof rectangles. Cut the openings before baking; after baking, gingerbread can crack when you try to saw a window into it. Leave generous space between pieces on the tray because the dough may spread slightly.
For a crisp structure, roll the dough evenly, roughly ⅛ inch (3 mm) thick. Uneven panels bake unevenly, which means one wall may be shorter than its partner. Bake until the pieces feel dry and firm at the edges, then trim them while still warm using the template and a sharp knife. Let them cool flat on a rack. If a panel bows, a flat baking tray placed gently on top while it cools can help, provided the piece is not so hot that it sticks.
Bake, assemble, then let the icing do its job
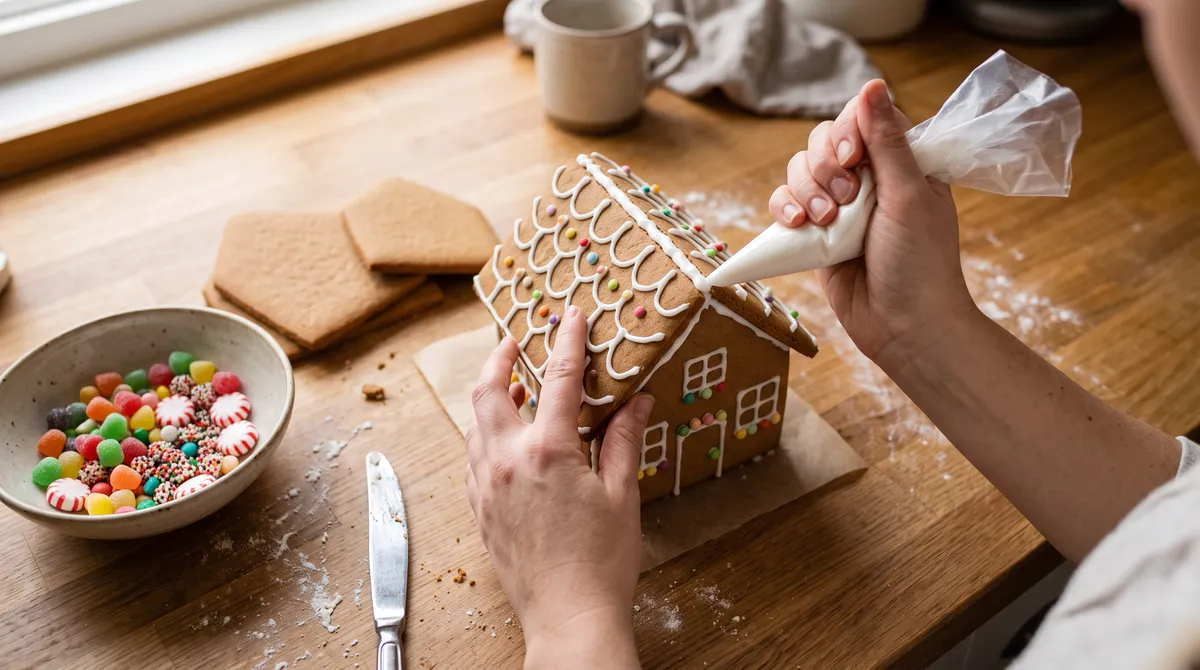
The most common mistake is rushing the structure. Royal icing works like edible mortar, but it needs the right consistency and time to dry. Use a thick icing for construction: when you lift the spoon, it should hold a peak rather than run flat. Pipe a generous line along one wall edge, press the adjoining panel into place, and hold it steady for a minute. Build the four walls first, checking that the corners are close to square. A mug or small food-safe jar on each side can act as a temporary brace.
Once the walls feel stable, attach the roof panels one at a time. Support each panel with your hand until the icing begins to grip; then prop it with a clean cup or a folded piece of card. Leave the house alone for at least an hour before decorating, and longer if the room is humid. I prefer to assemble in the evening and decorate the next day. It feels slow, but it prevents the familiar moment when a candy-heavy roof pulls away from the gable.
For a simple build, gather:
- Firm gingerbread dough, rolled evenly
- A template and sharp knife for trimming warm panels
- Thick royal icing in a piping bag or a sturdy food-safe bag with a tiny corner snipped off
- A flat board or tray as the base
- Small cups or jars to brace the walls and roof
- Candies, nuts, or dried fruit for decoration
If you want a window effect, press hard candies into the openings before baking, or leave the windows open and add a little icing trim afterward. Avoid loading the roof with heavy sweets. A few small pieces look intentional and put less strain on the joints. For children, let an adult handle hot trays and the structural icing; kids can take over once the house is secure.
Choose a decorating style that suits the house
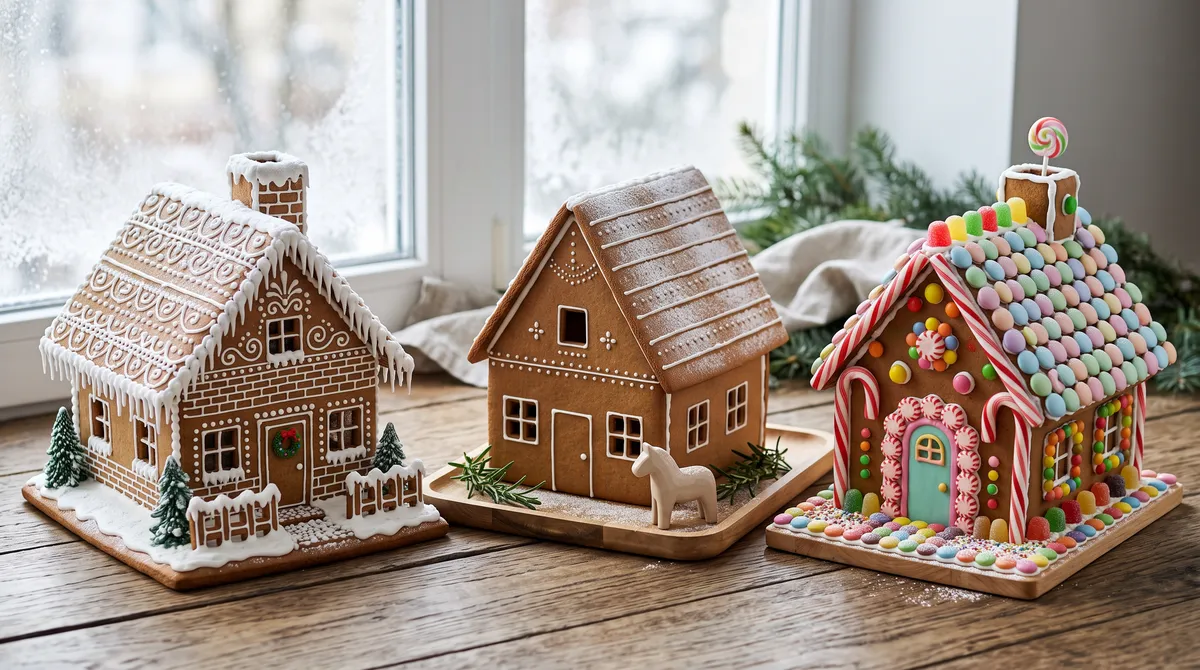
A pepparkakshus does not need to be covered in candy to feel festive. The restrained Nordic approach is one of my favorites: white icing along the roofline, a few piped dots, and a dusting of powdered sugar around the base. It lets the warm brown gingerbread show through and is forgiving if your piping lines wobble. For a more playful cottage, use gumdrops or small candies as roof tiles, but repeat a limited palette so the result looks considered rather than crowded.
Think about the view from across the room. Large shapes read better than tiny details, especially if the house will sit on a mantel or dining table. A simple door, two windows, and a clear roof pattern are enough. Use icing to create snow drifts at the base, then tuck in rosemary or small evergreen sprigs nearby rather than attaching fresh greenery directly to the edible structure. Keep decorations away from candles and other heat sources.
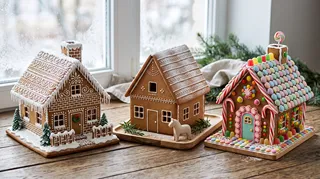
| Look | Decoration plan | Difficulty |
|---|---|---|
| Snowy cottage | White roof edging, piped windows, powdered sugar | Easy |
| Candy-roof house | Repeated small sweets in rows | Moderate; keep pieces light |
| Minimal Nordic | Sparse icing, natural gingerbread color, a few accents | Easy |
| Storybook house | Contrasting door, candy path, extra trim | Moderate |
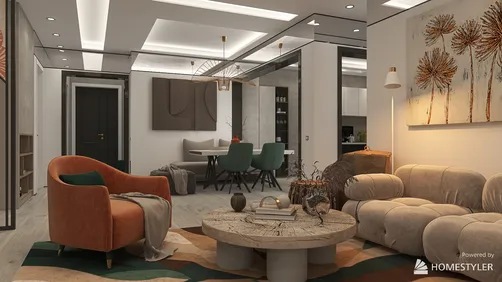
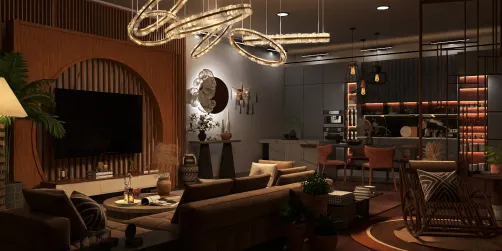
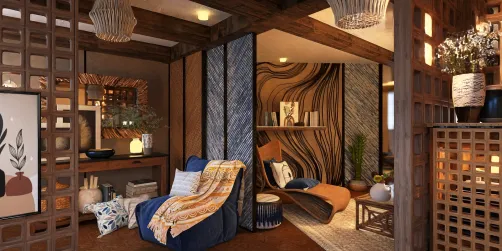
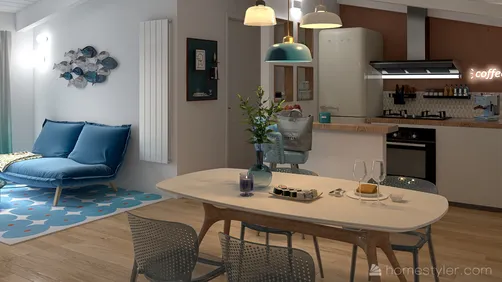
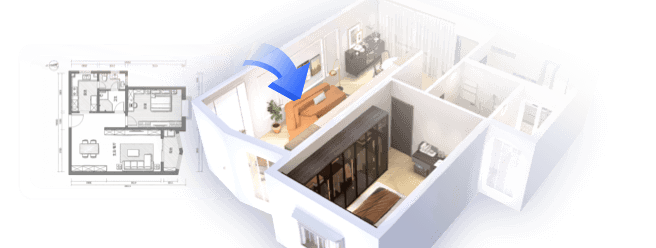
Before committing to a color scheme, it can help to picture the house in its setting. Homestyler lets you preview the scale and palette of a holiday display alongside the room around it, so the finished centerpiece feels at home rather than randomly placed. Keep the edible decorations simple and let the room provide the rest of the atmosphere.
Fix common problems and store the finished house
If a wall breaks, do not throw out the whole project. Pipe thick icing along the crack and hold the pieces together; once dry, cover the repair with a piped snow line or a candy detail. A roof that slides usually means the icing was too thin, the panels were warm, or the support was removed too soon. Take the roof off carefully if possible, scrape away loose icing, and reattach it with a thicker batch. For a house that leans, check the base and corners before adding more decoration. Extra candy will not correct a crooked foundation.
Humidity softens gingerbread and slows icing, so choose a dry spot away from a kettle, dishwasher, or sunny window. If the house is purely decorative, keep it covered loosely when not on display and avoid sealing it while any icing is still damp. For a project intended to be eaten, use clean hands and tools, keep it away from pets and dust, and follow safe food-storage practices for the ingredients you used. A display house can last longer in a cool, dry room, but its texture and freshness will change over time.
When the season is over, break the house apart over a tray rather than trying to lift it whole. Brush crumbs from the board, wash reusable supports, and save your template for next year. I like to photograph the finished house before it gets dismantled; the roof rarely survives the first enthusiastic snack.
Start with a simple cottage
The best first pepparkakshus is not the biggest or most elaborate one. It is the one with evenly baked panels, sturdy joints, and a decoration plan you can enjoy instead of racing through. Keep the walls modest, let the icing set between stages, and choose a few details that suit your room. If you want to test how a holiday centerpiece might look beside your tree, mantel, or dining table before you start arranging the room, try Homestyler as a quick visual planning tool.
Built on technology originally developed at Autodesk, Homestyler empowers anyone to design beautiful, realistic spaces in minutes. Join over 20+ million registered users (platform data, 2026) who have already discovered a smarter way to plan, visualize, and bring their dream homes to life — all from the comfort of a browser.
Set out the pieces, make a thick batch of icing, and give the structure time to settle. Once the house is standing, decorating becomes the fun part. And if one corner is a little crooked? Add a snowbank. That is not a flaw; it is excellent architectural camouflage.
Projete agora para LIVRE