The content of this blog includes precautions for using plumbing and electrical functions, how to use them, and how to export.
What to prepare for plumbing and electrical design?
To improve the success rate of the design, ensure the following two points:
1.A complete design plan must include all furniture that connects to the electrical circuit (e.g., fixtures and appliances) or plumbing (e.g., showers and sinks).
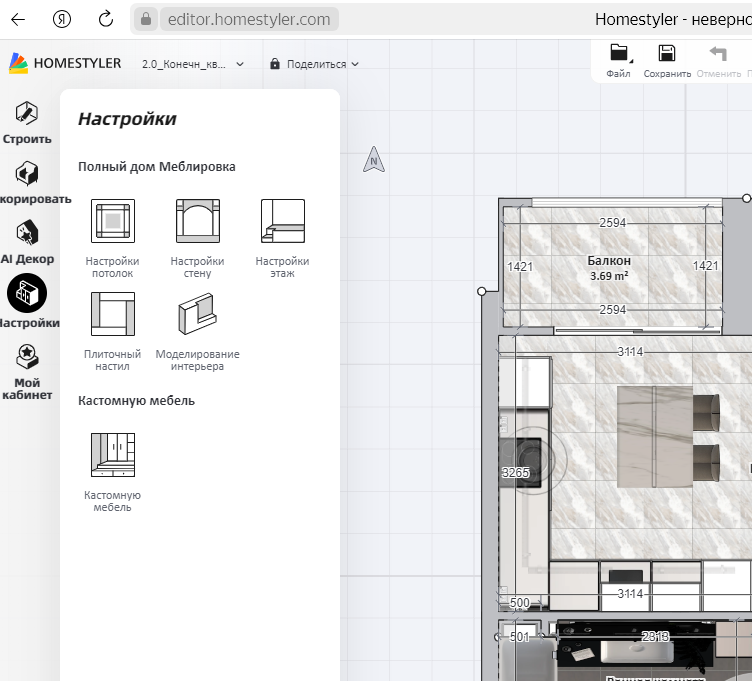
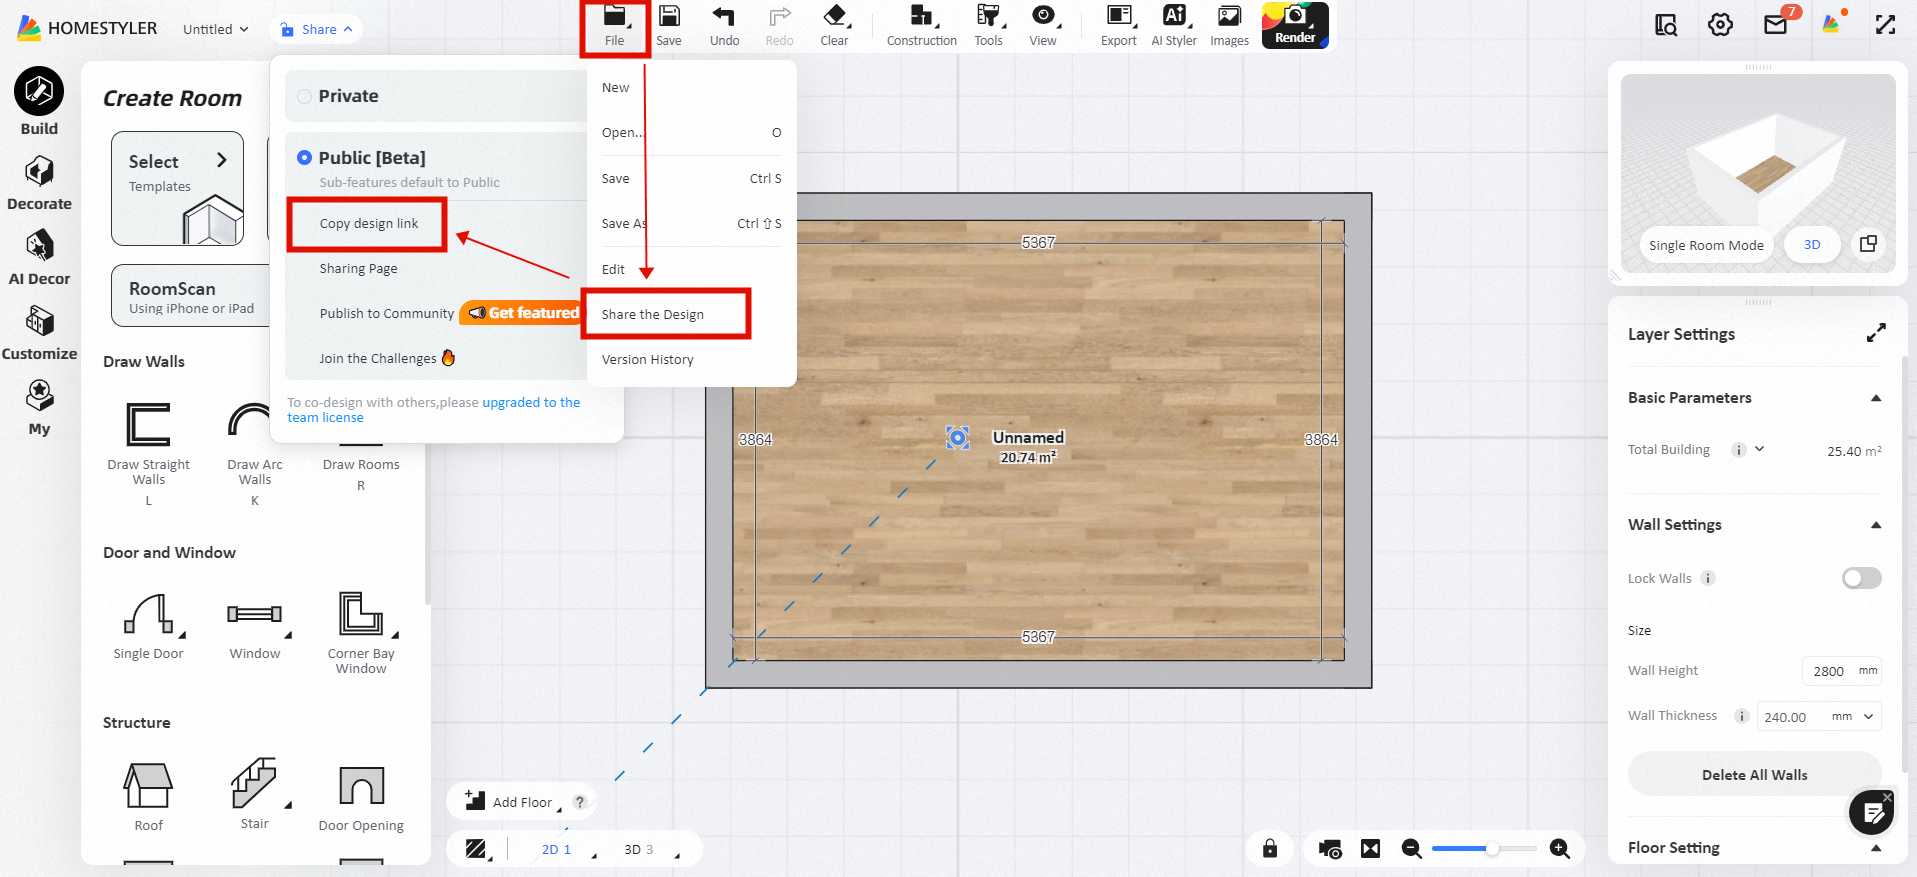
2.Room names should be set appropriately. (See the image below for naming guidance.)

Plumbing and Electrical Access
1.Go to the left menu: Customize < Plumbing and Electrical.

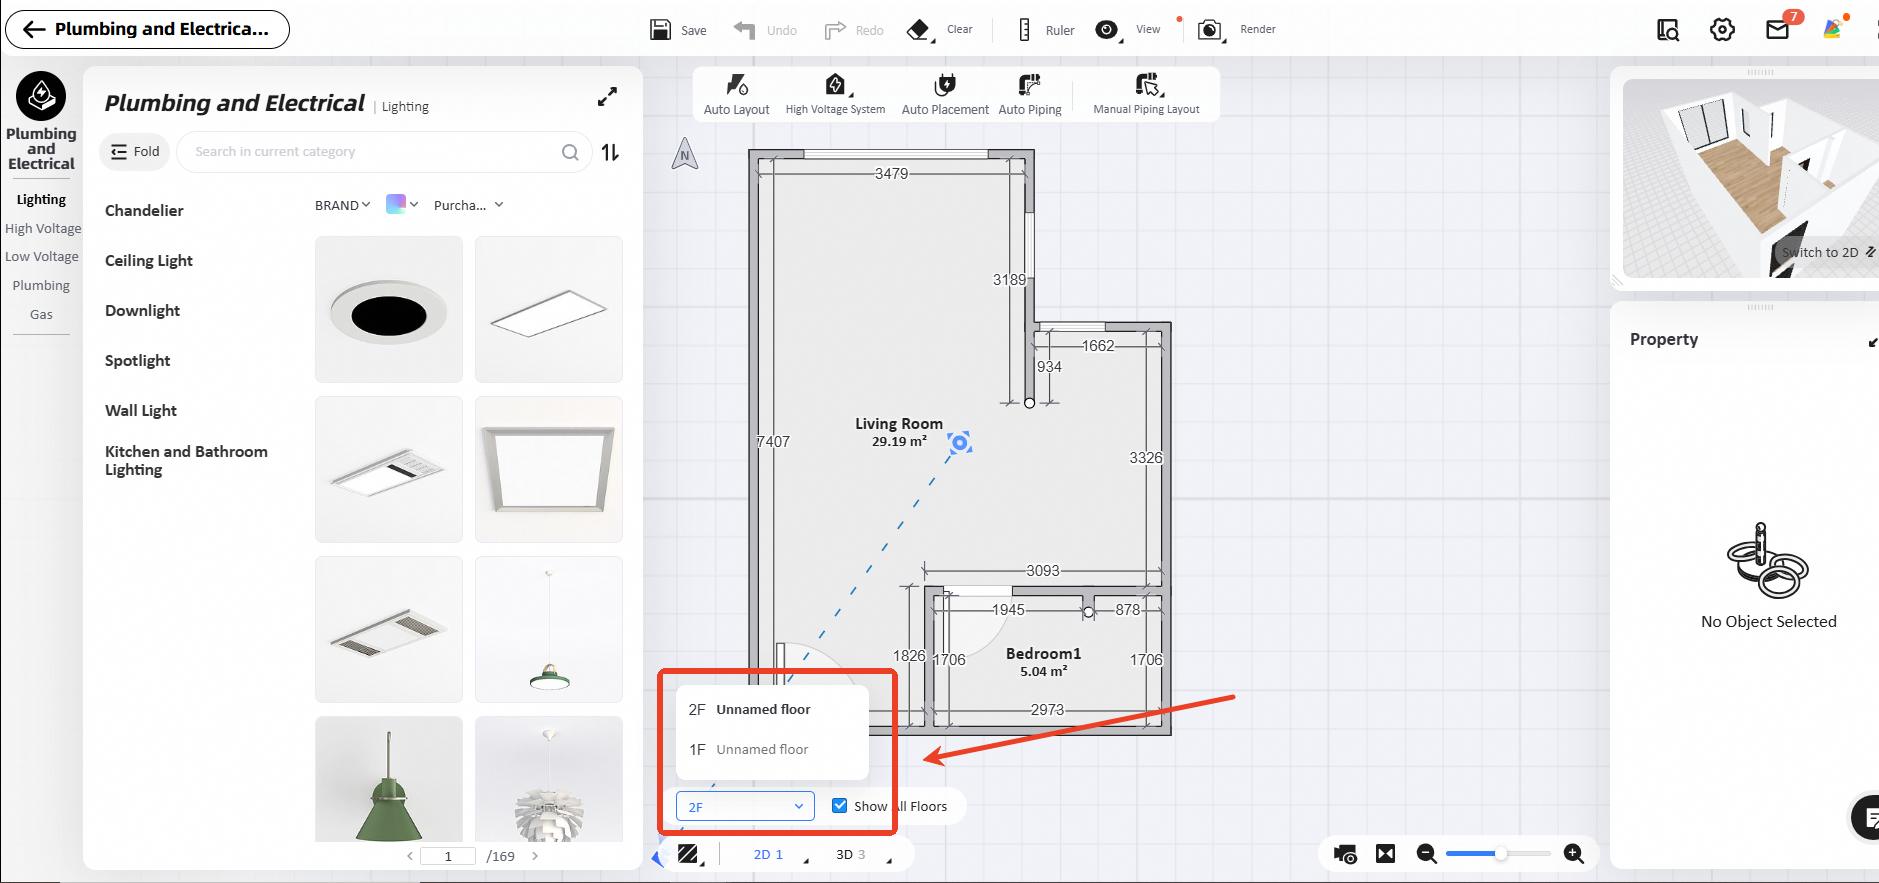
Interface Introduction
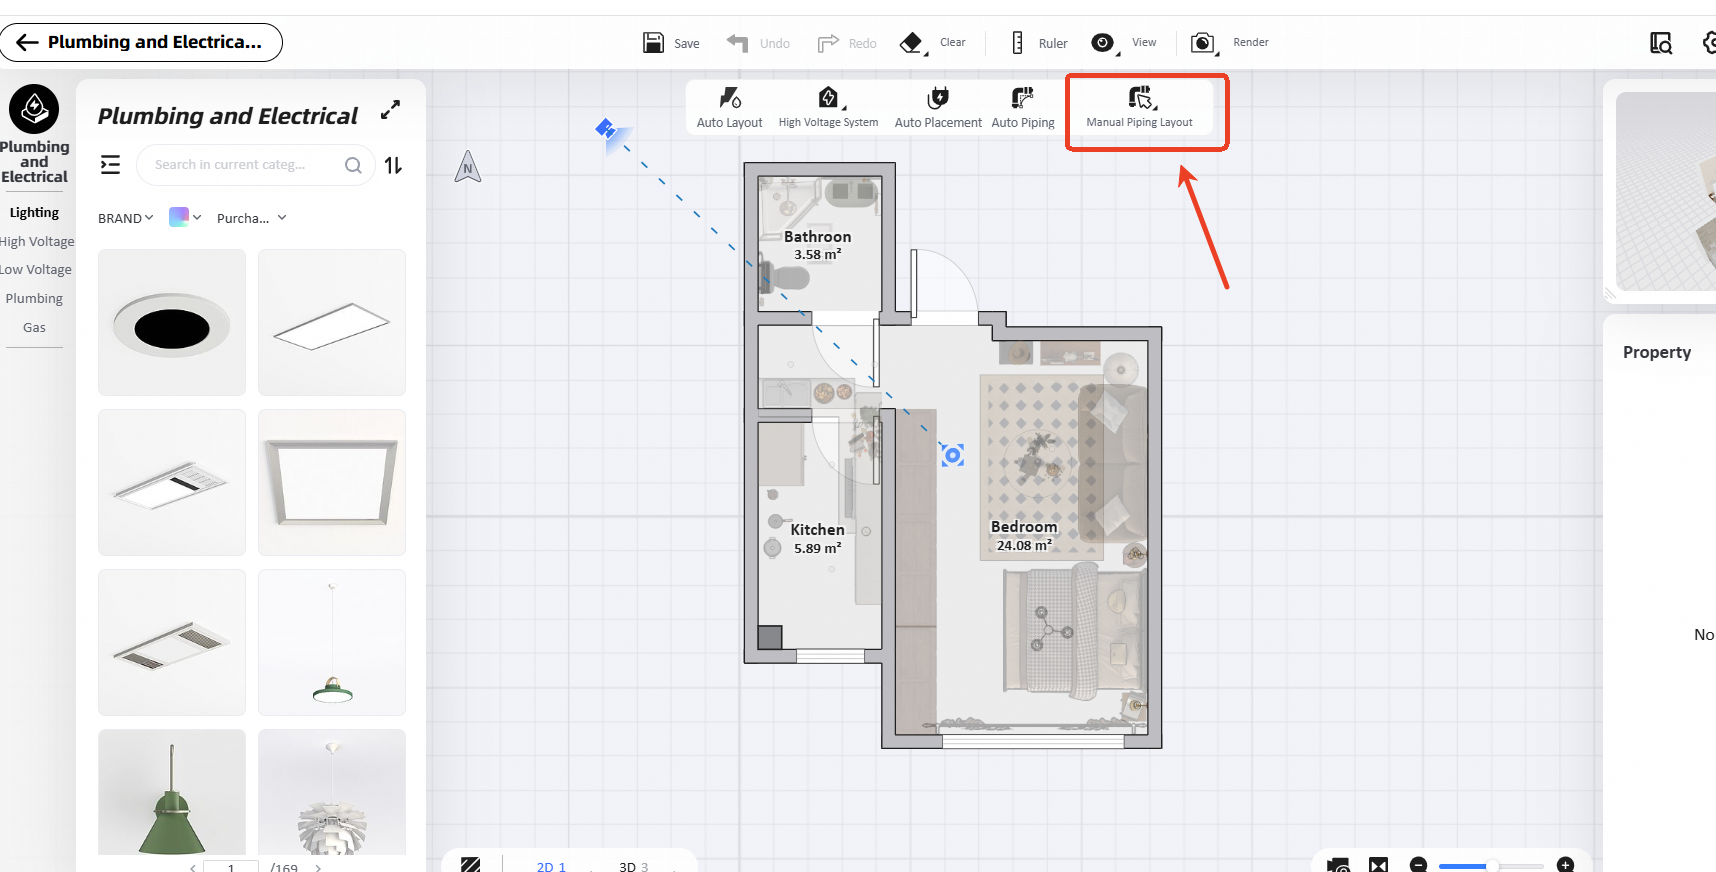
1.Left Side: Add lighting, electrical panels, low and high voltage boxes, and hot/cold water pipes.
2.Top: Access common functions including rendering, which generates a 3D diagram showing pipe and circuit layouts.
3.Bottom of the Top Section: Four features, with "Auto Layout" combining "High Voltage System," "Auto Placement," and "Auto Piping."
4.Manual Piping Layout: For customizing pipes or circuits.
5.Switch views to see 3D layouts of pipes and circuits.

How to Use?
You can choose between two design modes: Auto Layout or Custom Layout.
Auto Layout
1.Add electrical panels to the walls and adjust their positions. (If your model appears as gray blocks in this interface, don't worry; it's just a visual representation and won't affect your final design.)


2.Click “Auto Layout” at the top, which will automatically generate electrical and plumbing layouts. (Note that previously added pipes and circuits will be cleared.)

3.If there are points or lines you don’t want auto-adjusted, uncheck them before generating.

4.After generation, review the pipe design.

5.To adjust pipe or circuit positions, switch to 3D view and select the pipe/circuit to modify on the right.

6.The other three features can automatically generate based on your needs, and "Auto Layout" includes these functions.
7.If not needed, you can clear specific types.

Custom Layout
Before adding, ensure you have all relevant furniture, switches, electrical components, and water outlets ready.
And users need to first go to the circuit, add at least one lighting circuit, and then include switches and fixtures within it.

1.Select “Manual Piping Layout” and choose the pipe to add (e.g., High Voltage Pipe). (Switch to 2D view for convenience; shortcut key is 1.)

2.A green outline indicates where you can draw.

3.Hover the pencil over a socket/switch to change the outline to blue, then draw. Connect two points to generate a circuit. Press “Esc” to exit the command.


Export
You can render or export construction drawings.
Render
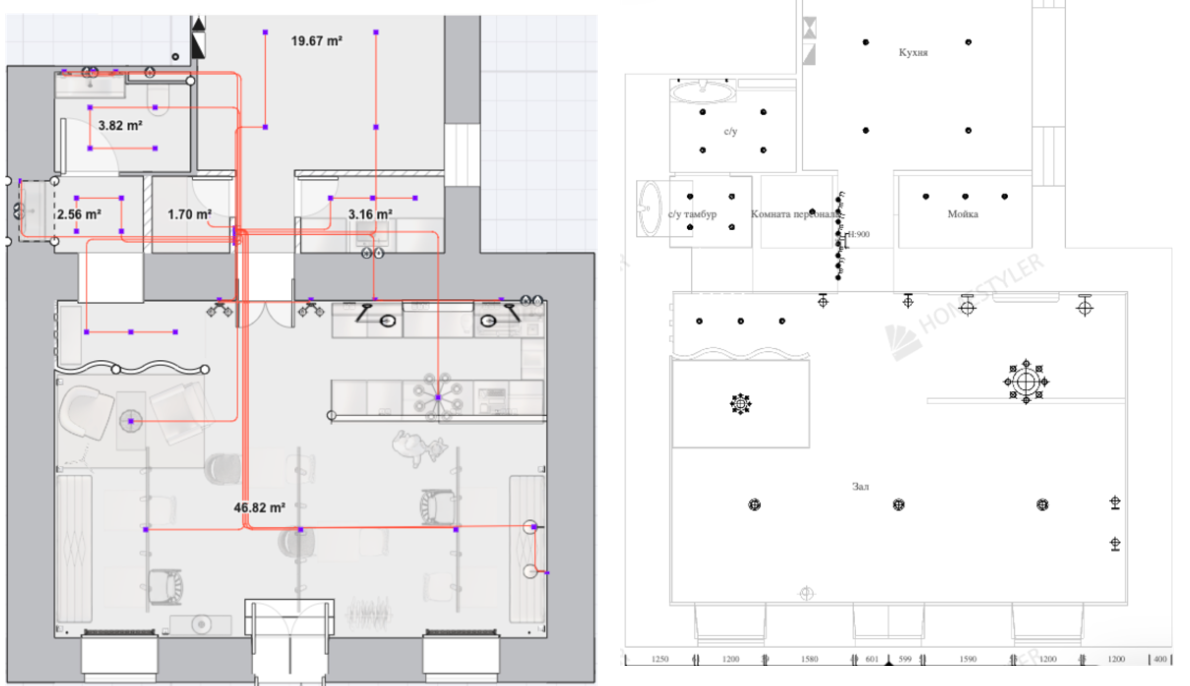
On the plumbing page, click the “Render” button to access the rendering page and receive a 3D circuit diagram. (Note: Rendering from the plumbing page is required to display pipes; other entrances will not show them.)

Render Demo:
Construction Drawings
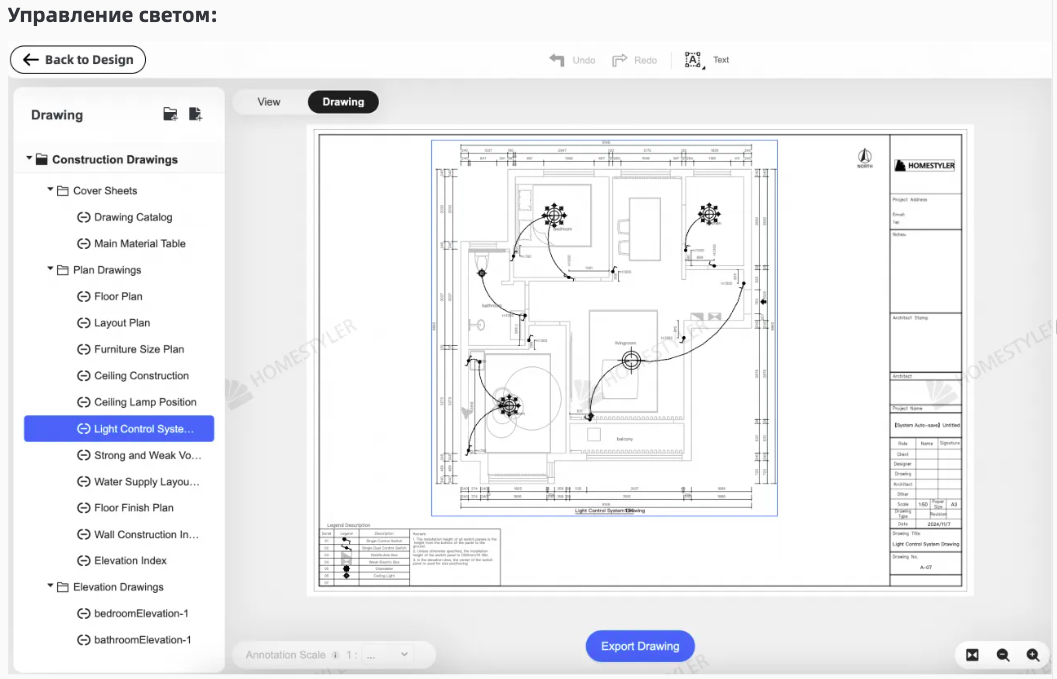
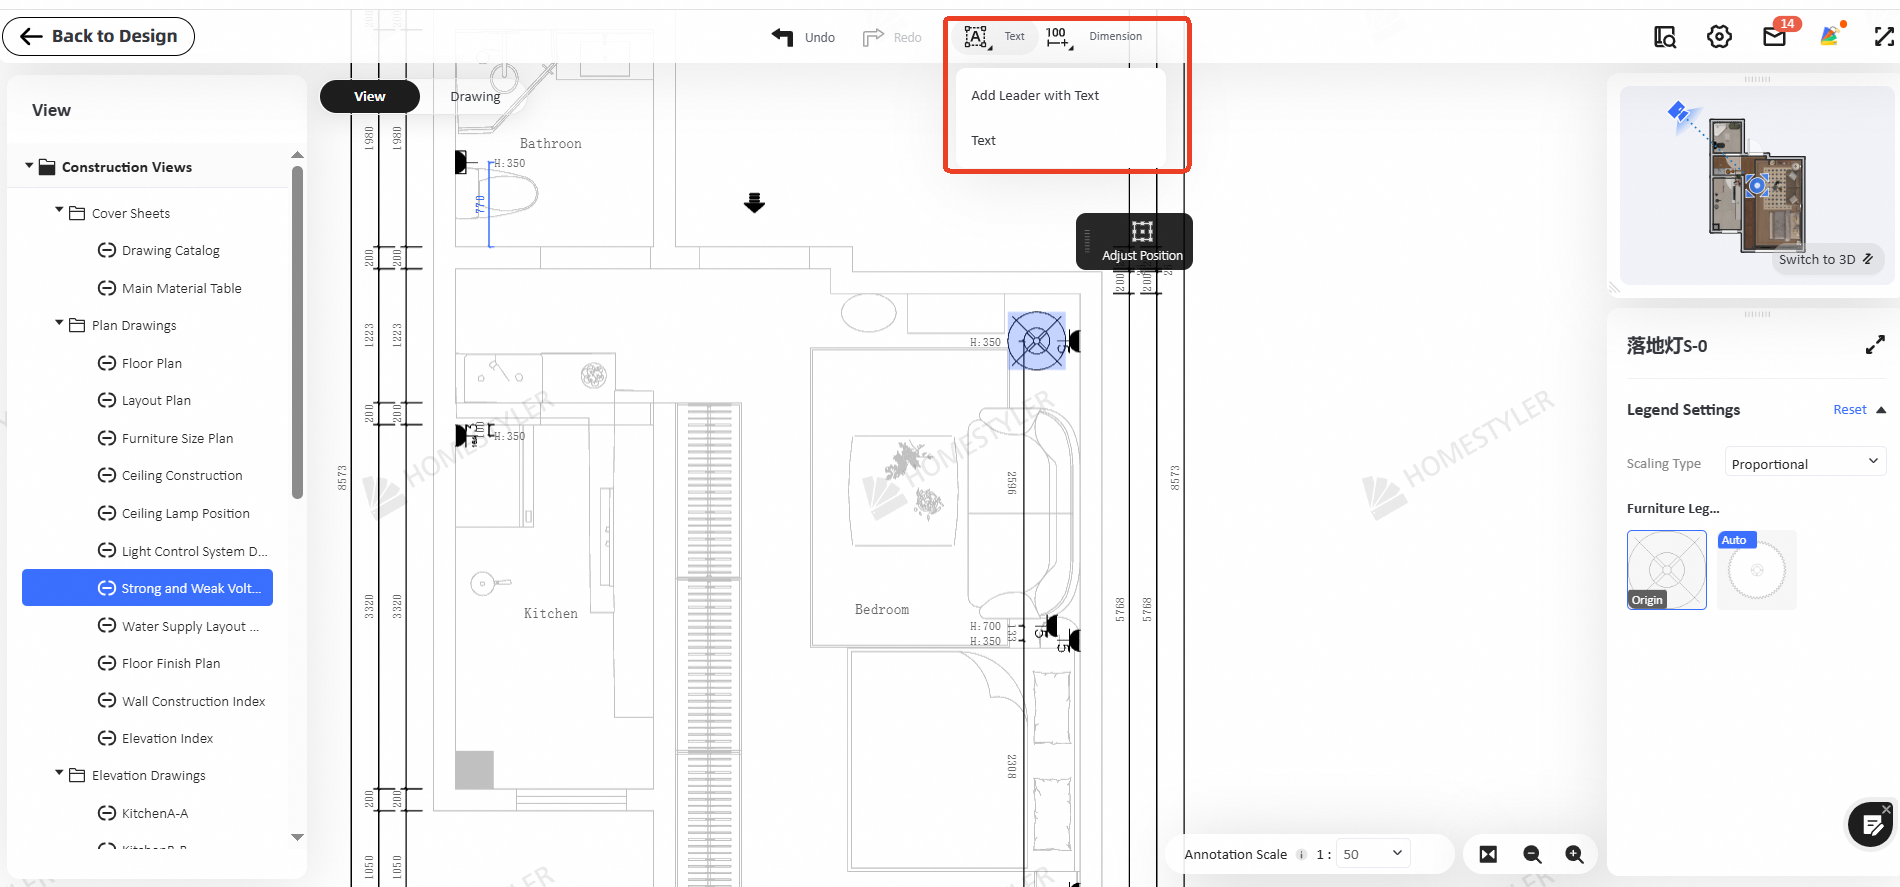
Exit the current page and go to the “Construction Drawings” section to obtain diagrams for switches, sockets, and plumbing.

Light Control:

Switch and Socket Diagram
Notice:
The drawing output only includes the hot and cold water pipe paths, but does not output the strong and weak electrical conduits.

Water Supply Layout:


